Much can be said about the Blender tools and how they are opening up the market to create the entire range of assets normally spread across 5 software applications.
For this segment we are going to look at a tool that fits in with the theme of CC0 content and how to use or better yet modify and up-res the content within your game creations. Nestled deep within the Blender interface is a tool named the NLA Editor, which stands for "non-linear" animation within your character's armature. The beauty of the NLA Editor and the tracks it provides comes from being able to store many different animations within a timeline, while also allowing you to blend within multiple tracks to create complex, fluid animations.
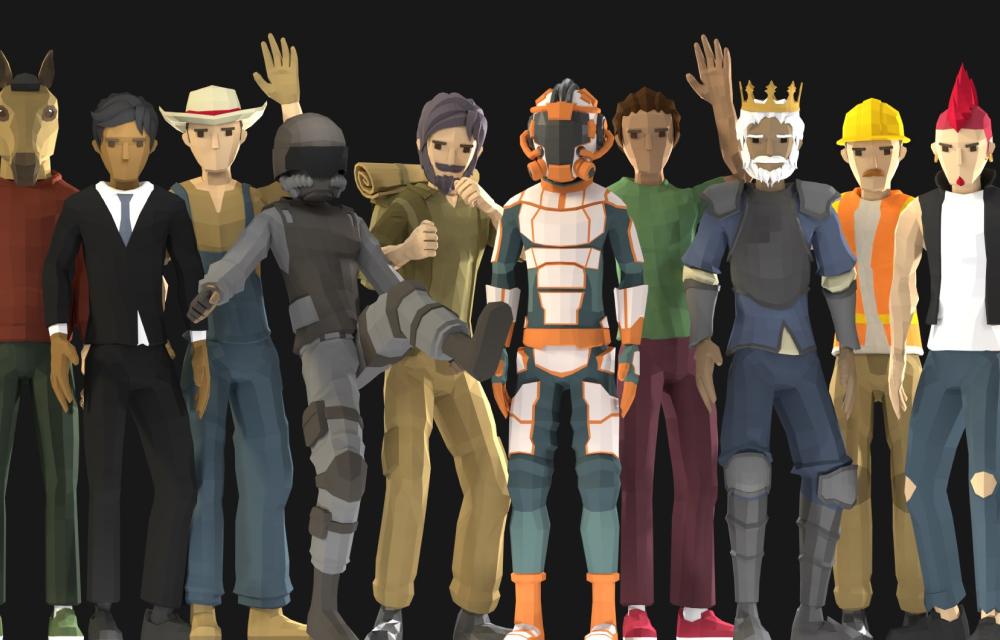
We will begin by starting with a character that can be found in the packs that Quaternius provides on their site to have full animation cycles that can be used for character movement sets. For our specific breakdown we are going to focus on the Ultimate Modular Characters pack they provide and the Suit.Blend file that can be found within the Google Drive link.
When opening the Suit.blend project initially you are greeted with several panels that are extremely intimidating to know where to look in order to begin using the NLA Editor efficiently and the animation tracks nested inside of it.

In order to simplify the layout we are going to click the + icon ➝ General ➝ Layout to get to the default layout you would normally see when starting up Blender.

Now that we are presented with the default layout we can begin to see how we can stack different panels in the bottom to add and play tracks for the NLA editor.

Now we have reached one of the more confusing parts of using tracks and the NLA Editor as you need to have one additional editor open named the Action Editor in order to control the playback of clips on the active character in the viewport. To access this editor we will once again drag up in the panel corner and select the Dope Sheet panel to open. The final step is to click on the dropdown and select the Action Editor within the Dope Sheet panel.

Finally we have the 4 main panels required to see and playback animation tracks inside of Blender, thus giving us the complete flexibility to trade out animations previously made by Quaternius. Clicking within the Action Editor clip dropdown that actively shows "idle" we can then expand the listing and click any clip within the dropdown to switch the active animation.

This is a good start but doesnt actually have us using the animation tracks as an "Action" does not directly translate into an animation track. We still have to click the "Push Down" button in order to make this action a track in the NLA Editor.

Congratulations, you have finally made it to the point of having an active track within the NLA Editor that can be trimmed and blended to fit your needs. In this last step we will take a quick look at how to export our character properly so that the character and the animations are separated for importing into a game engine. The first step is quite an easy one in selection the Character Armature and setting the character into the "Rest Position" to have a mesh with no animations initially to export.

With the character in a T Pose we can then go to the File Menu ➝ Export ➝ FBX to open the export modal. Within this we can then set the character to be exported and make sure to click a couple of settings in order to make sure only what is needed is exported in this initial pose.

With the export window now open we can specifically focus on limiting the type of objects exported in the scene as well as removing any possible animation export by unchecking the "Bake Animation" checkbox found in the lower section. One final option that will restrict any extra bones being added to the character is to uncheck "Add Leaf Bones" in the armature section.

Now we are ready to export the animation tracks and will follow a somewhat similar workflow except enabling the "Bake Animation" while also removing the mesh exporting on the selected clips. The first step we will take however is to change the character armature back into the "Pose Position" for the track export.
It should be noted that for each specific animation track it is best to singularly have them active in the NLA editor for the cleanest export on individual tracks.

We have now covered the full workflow to get a character and animations out of Blender for use in an external game engine. When targeting a movement set within a game engine you will want to focus on the idle, walk, run, and jump animation states to have the full range of motion. In a future lesson we will look to cover the blending and splitting of animation tracks to cater to more complex movement setups.
For now take this workflow and really utilize it within your game creation workflow given it takes multiple people to model, rig, and animate a character within a game. Using this workflow however you can tackle all the roles and focus on the core experience directly within your game instead!
-- Collin
